Admin
For those with admin access only

Greg Wolverton
Last Update 3 years ago
This KB examines each of the admin area of the Engage Community Portal. Only those with admin access will be able to see the drop downs shown below.
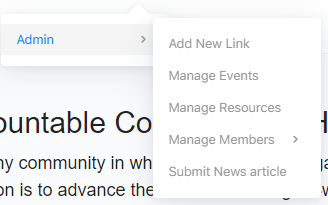
In the main nav bar administrators will observe an extra admin drop down. This is where admins manage the site, including adding/managing link, adding/managing members and their access, managing calendar events and news articles
A drop down will appear with a list of admin functions

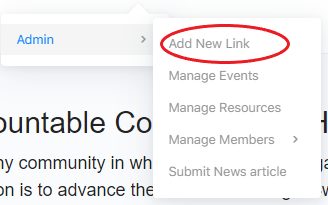
Add New Link
To add a new link that will appear in the Quick Links on the Home page, click Add New Link in the drop down.
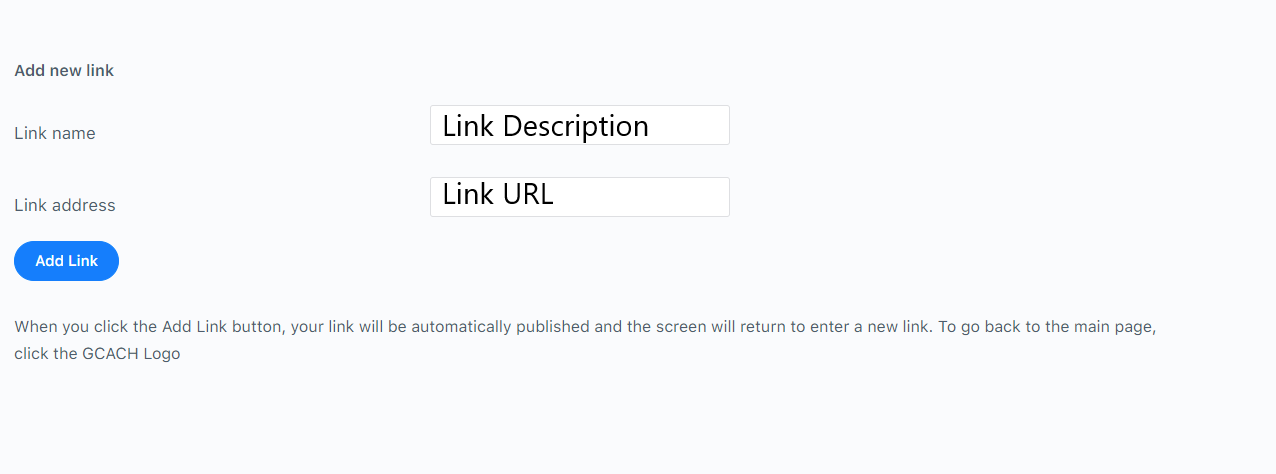
A new page will display to allow you to enter the Link Name (description) and Link Address (link URL). Enter the information and click Add Link
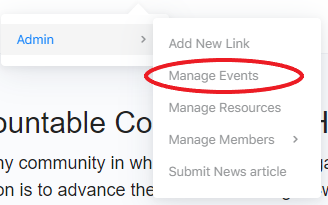
Manage Events
Managing events are crucial to the overall communications of the community. from the Admin drop down click on Manage Events
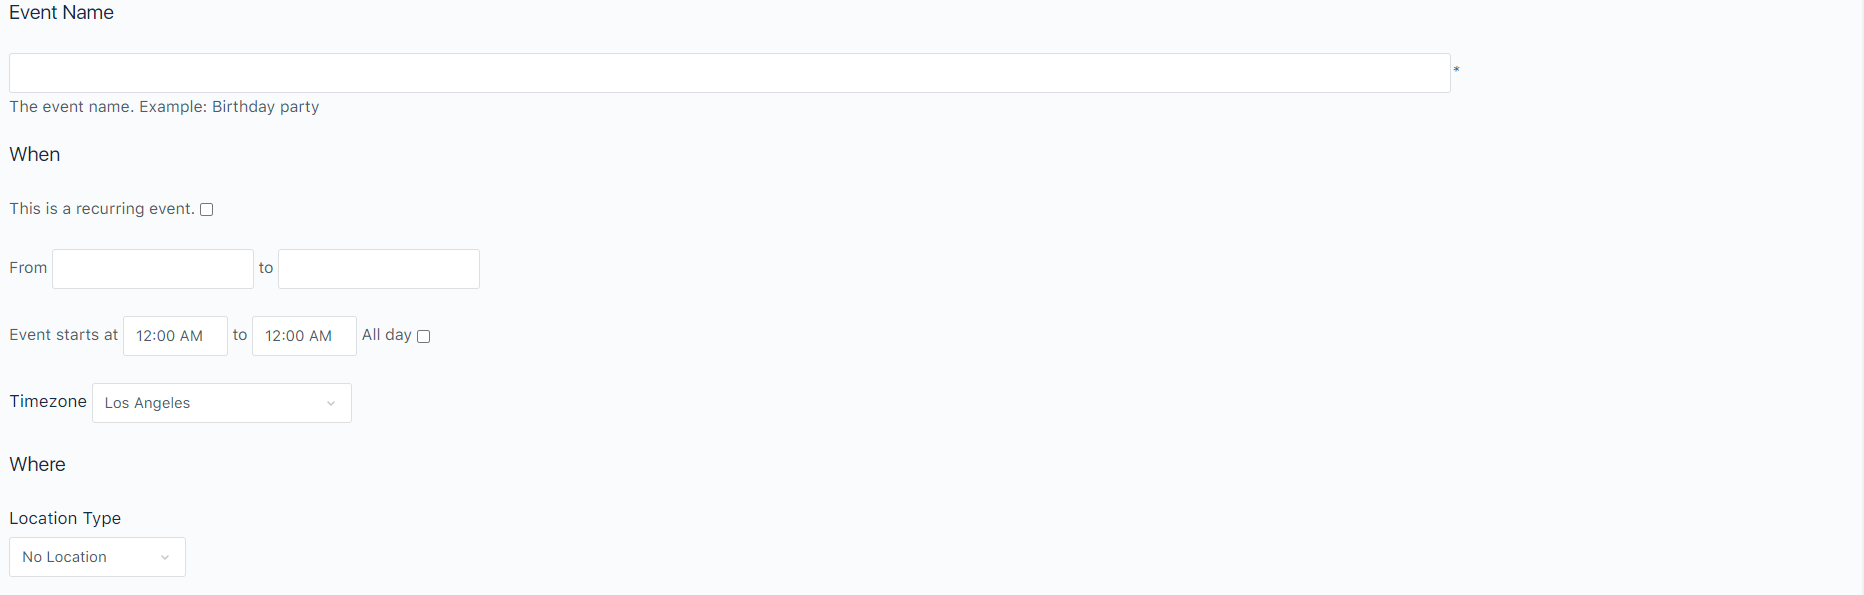
The events page will load and allows you to view Upcoming Events, Past Events and Add New

The events page allows for a significant amount of information and details along with the ability to add a file and images and is fairly self explanatory. Enter the necessary information - and click Submit Event
A note about the Location types - You can have a physical location or URL as with the case of a webinar or online meeting/event. When you select the location type another field will display asking for more information.

Submit News Articles
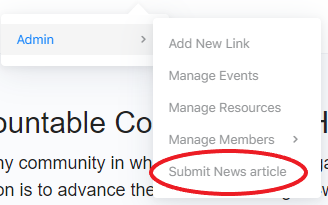
Submitting a news article is very similar to the above actions. From the Admin drop down click on Submit news article
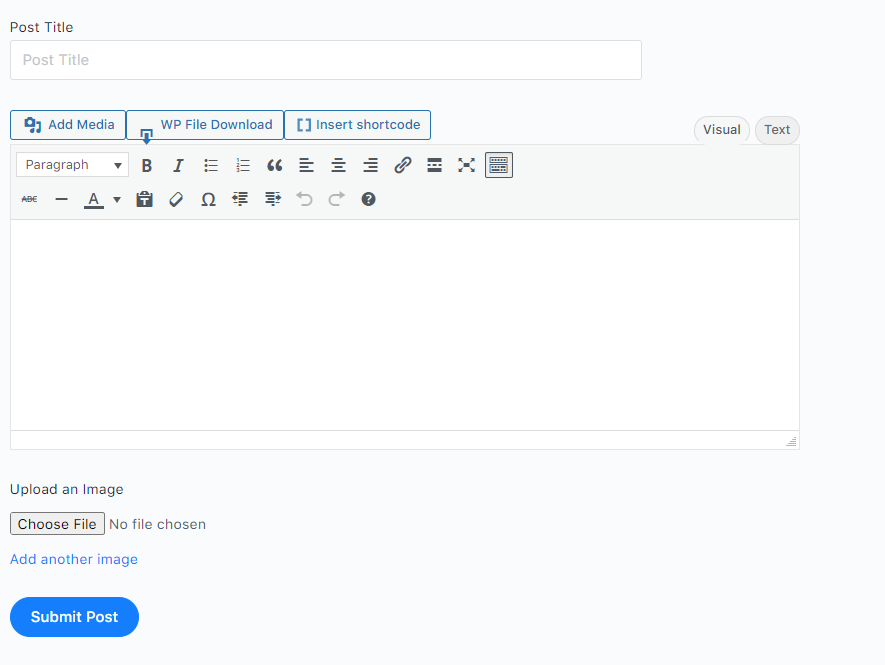
A screen will display for you to enter the title, description, images or attachment. When complete, click Submit Post
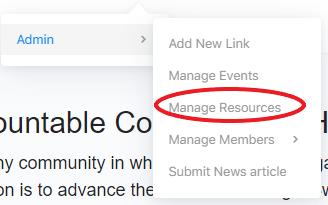
Manage Resources
Select Manage Resources from the admin drop down
This area is perhaps the most resource and permission heavy that administrators need to pay close attention to the details. the details are very important in that what folder you place the information in, is what the member organization will have access to. For instance, ensure that you place info for Prosser ONLY into the Prosser folder.
Select the folder or sub-folder and simply drag and drop the files into place or use the Select Files button to open the explorer window.
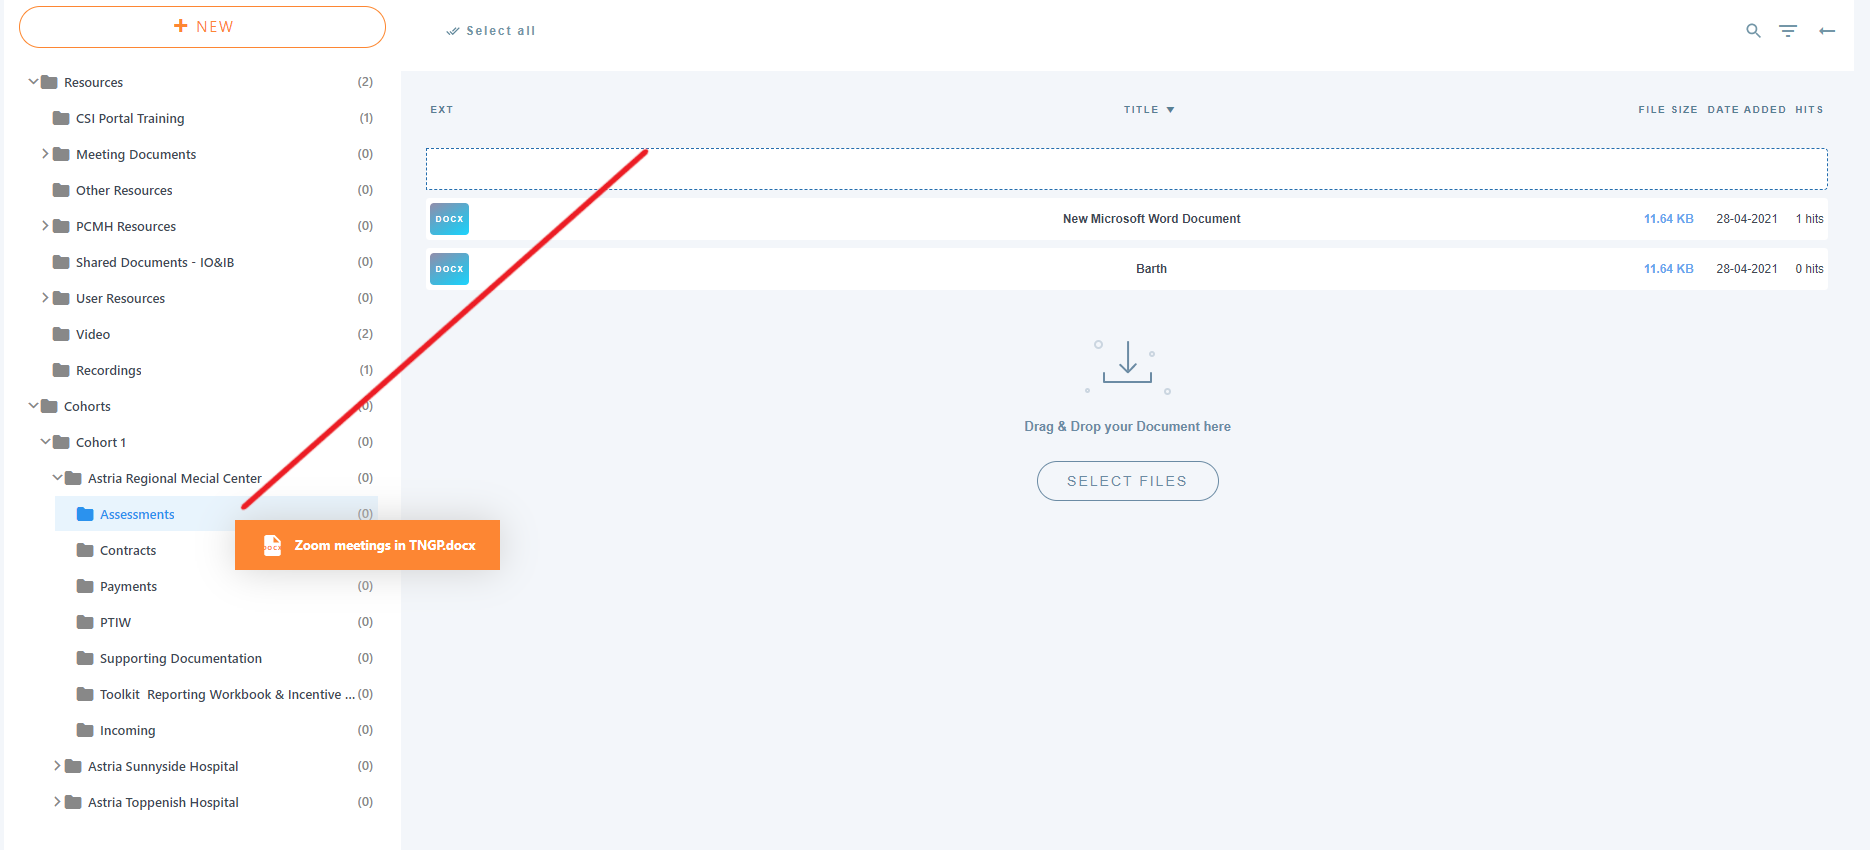
Moving member submitted documents to the proper folder
As with most admin functions, we want to ensure the resources get into their proper place. We have placed this as an admin function to ensure quality. All user uploaded resources are added into the Front-End Uploads folder. You will need to drag and drop the uploaded files into their proper place. To do this, simply expand the appropriate folder to where you want to moved file to reside and drag the file you want to move into the folder.
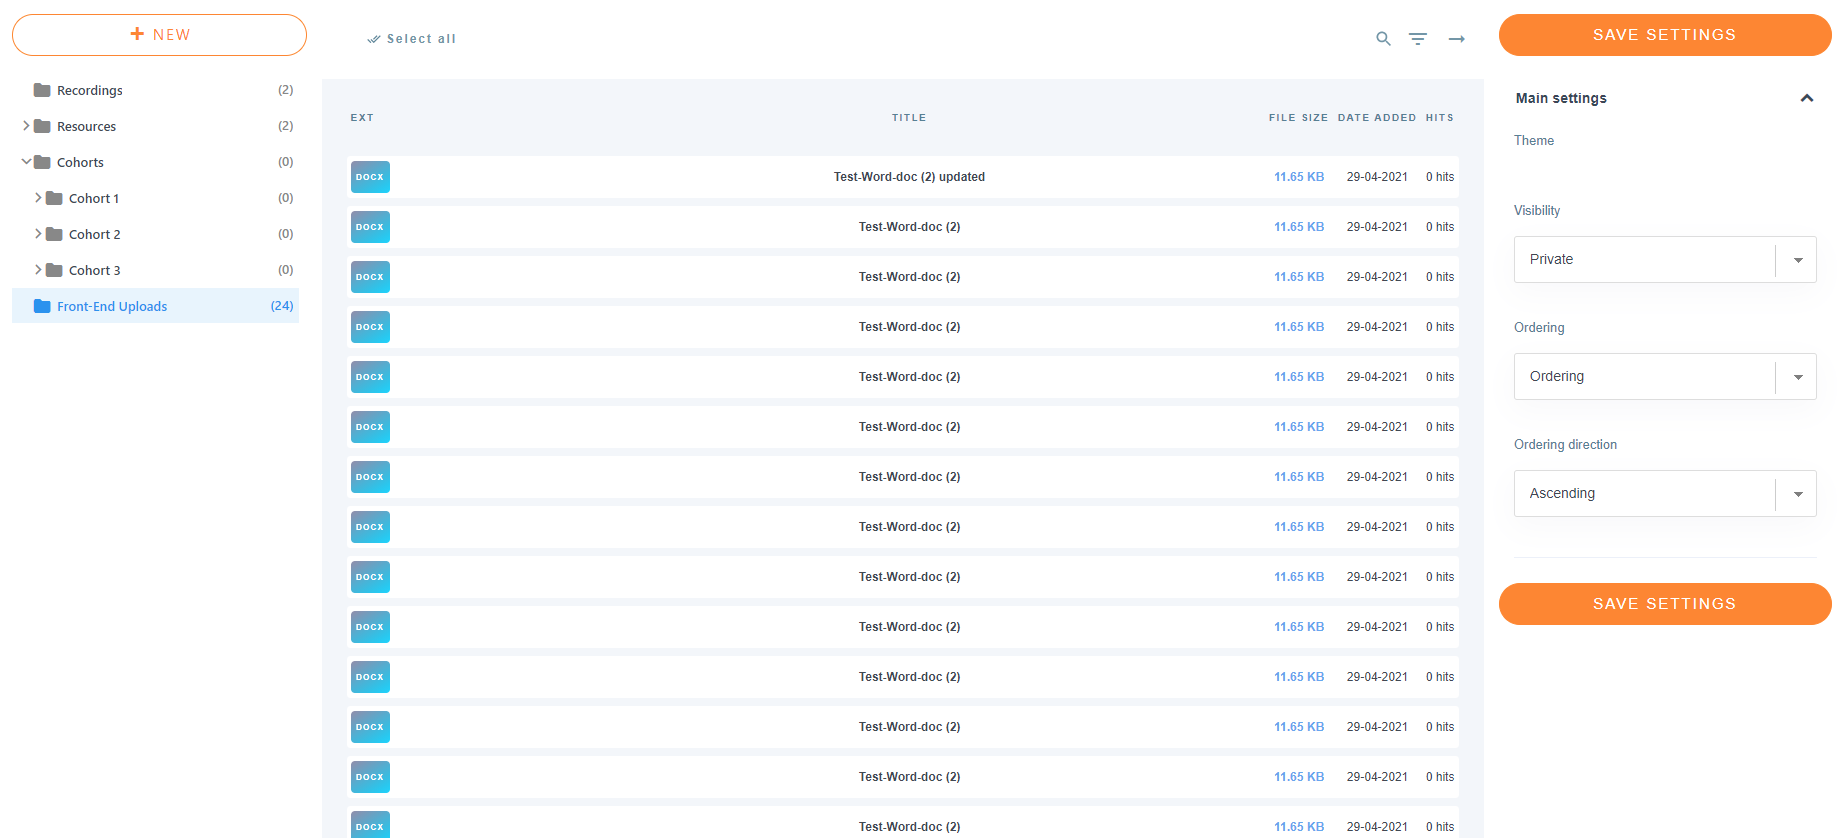
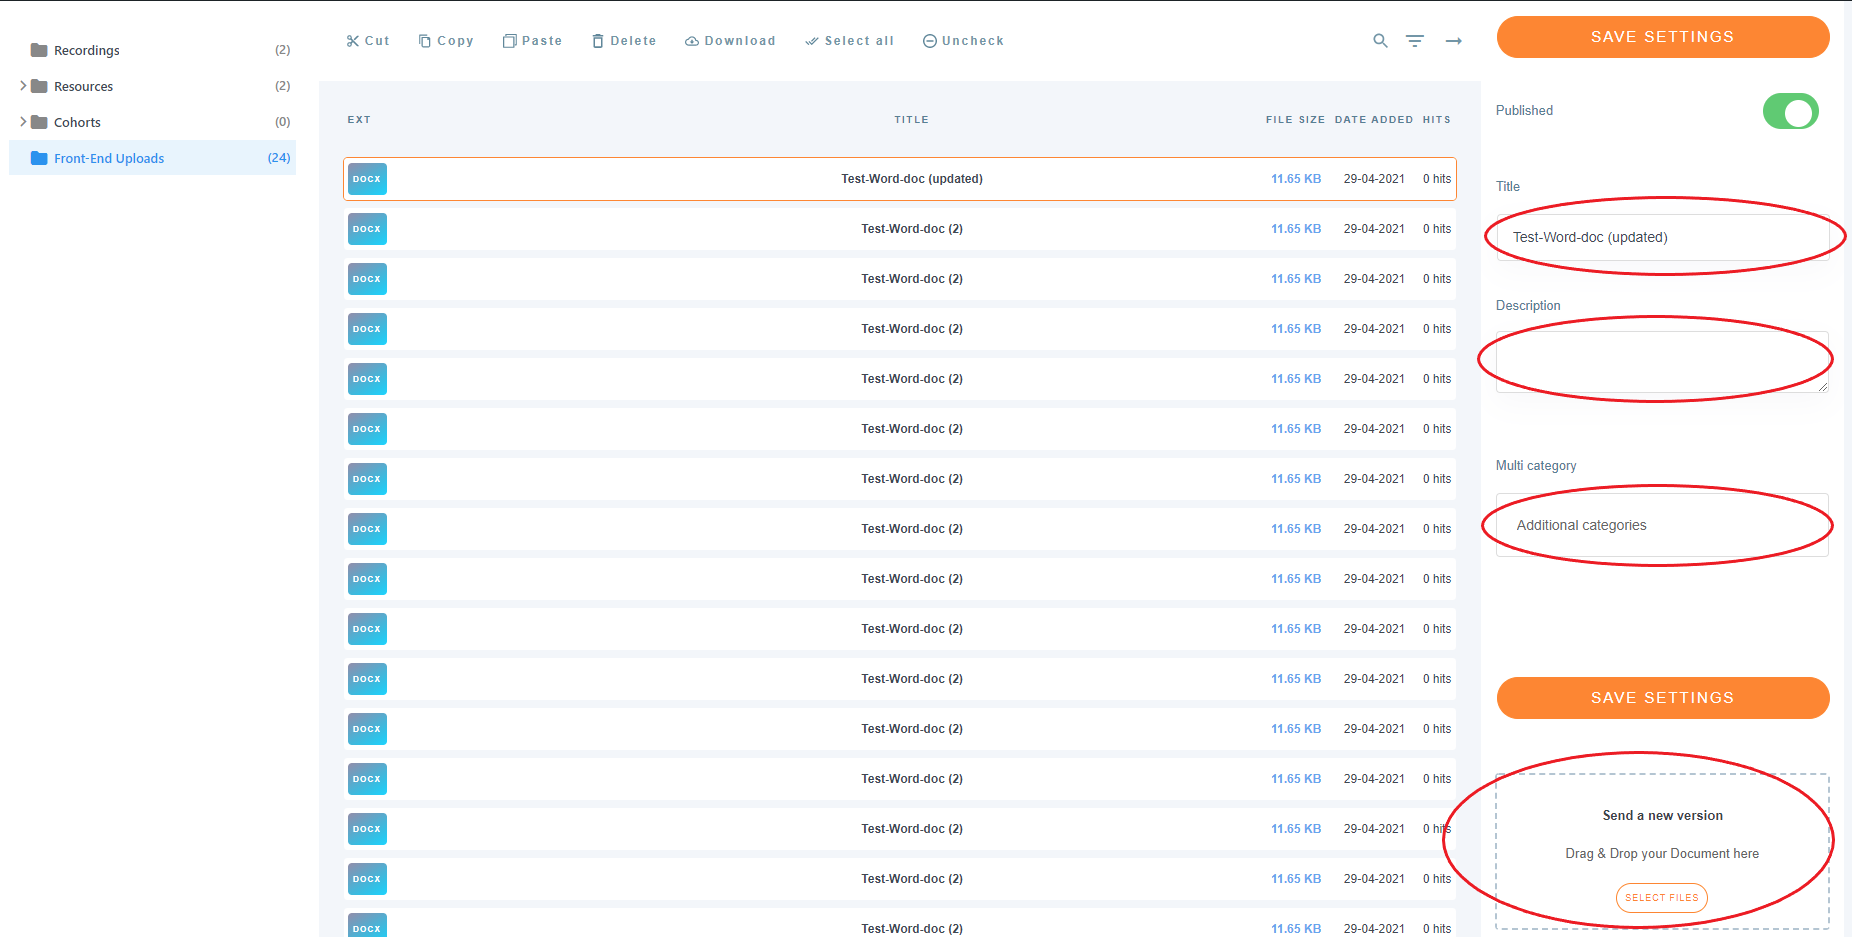
Renaming a file
To rename a file, click on the file you want to rename and a new panel will display on the right with the file properties. There are a number of changes you can make including changing the filename, adding a description, putting the file into multiple categories and adding a new version that will replace the current file. After editing make sure to click Save Settings.
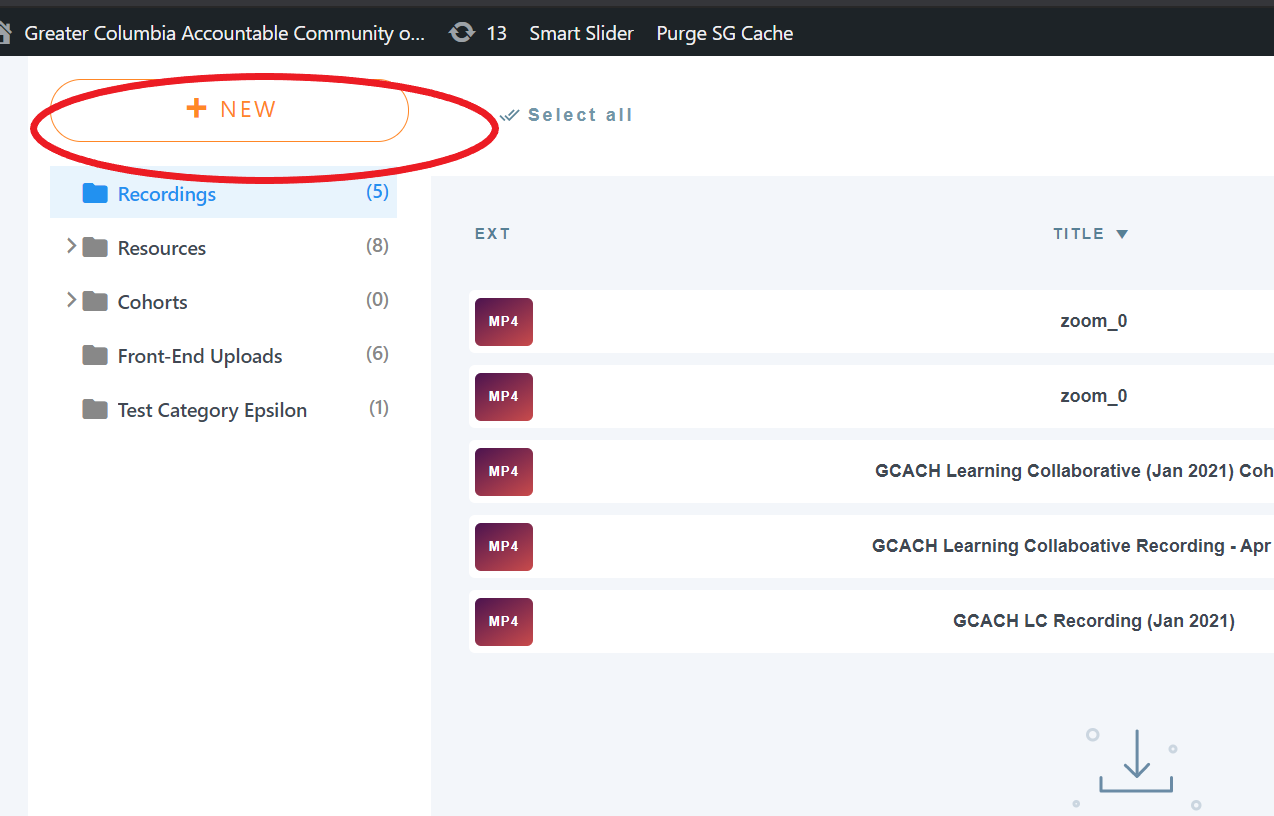
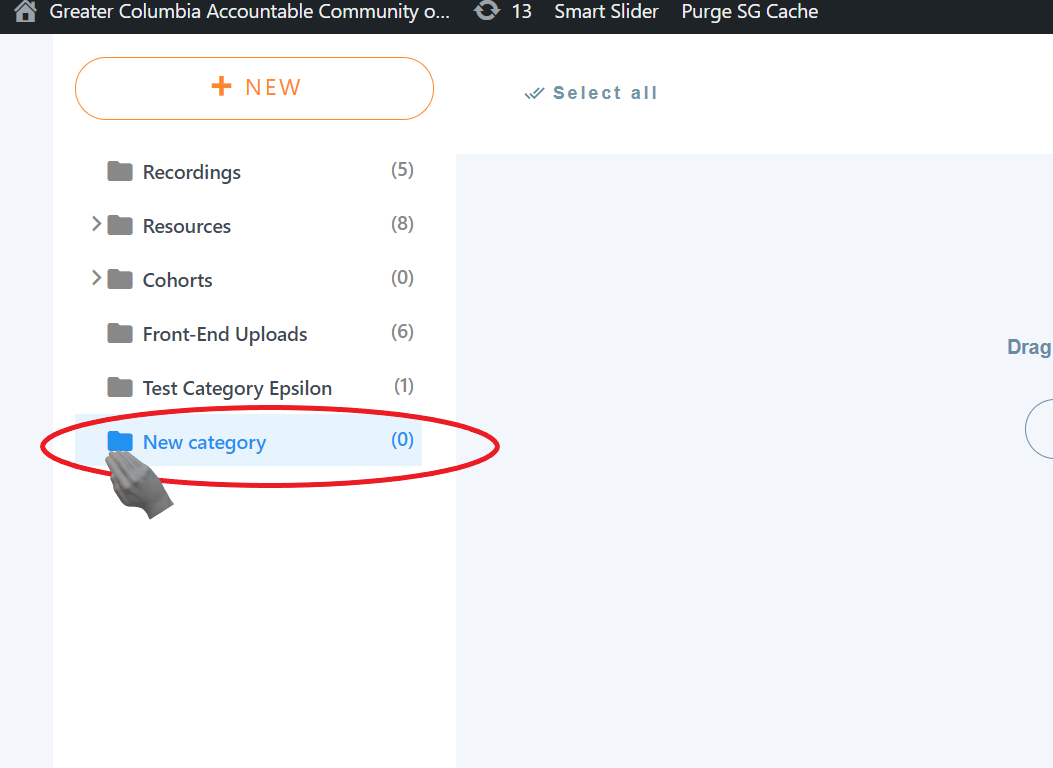
Add New Folders (Categories)
To add a new folder, click the "NEW" button in the top left and a new category/folder will be created. Please note that the folder will be created in the root directory and you will need to move it to the proper place by dragging the new folder to the appropriate location. To do this, left click on the folder icon and hold the left mouse and drag to where appropriate.
To create a subfolder you must expand the folder list.
Manage Members
The members admin allows two distinct selections. The first selection is Members and this is to manage members and their roles/organizations, including adding and removing permissions.
Click on Manage Members
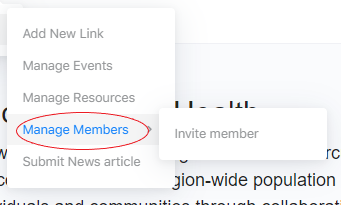
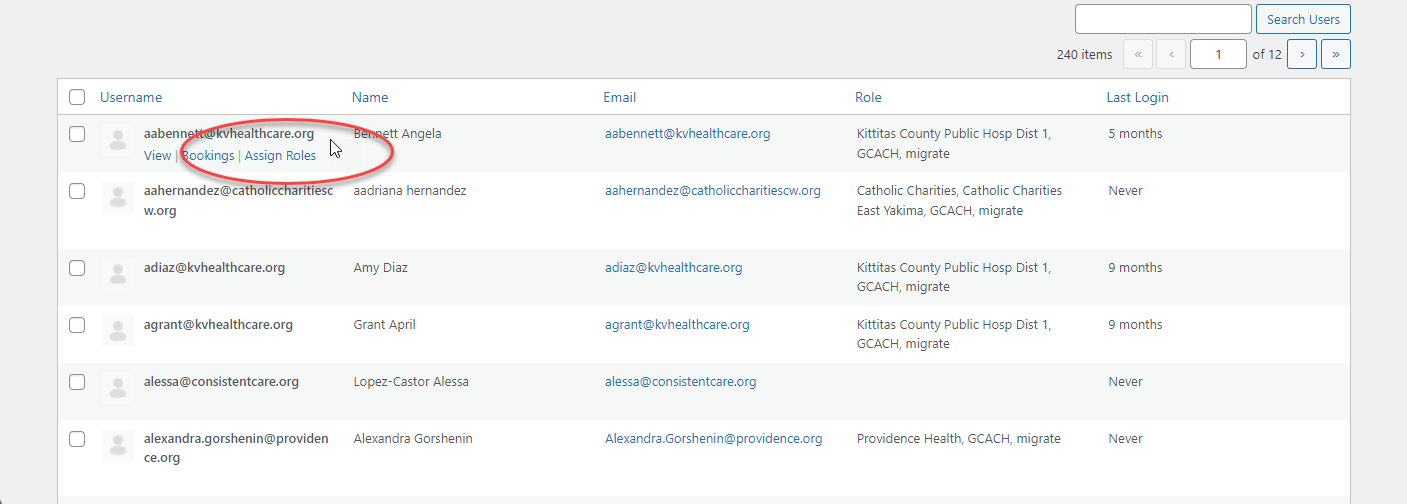
The members will be listed on this page. To add or remove permissions, hover the user and click the ‘Assign Roles’ link under the Username.
Add/Remove roles by selecting/deselecting the checkbox next to the role name and clicking ‘Assign Roles’.

Add a New User
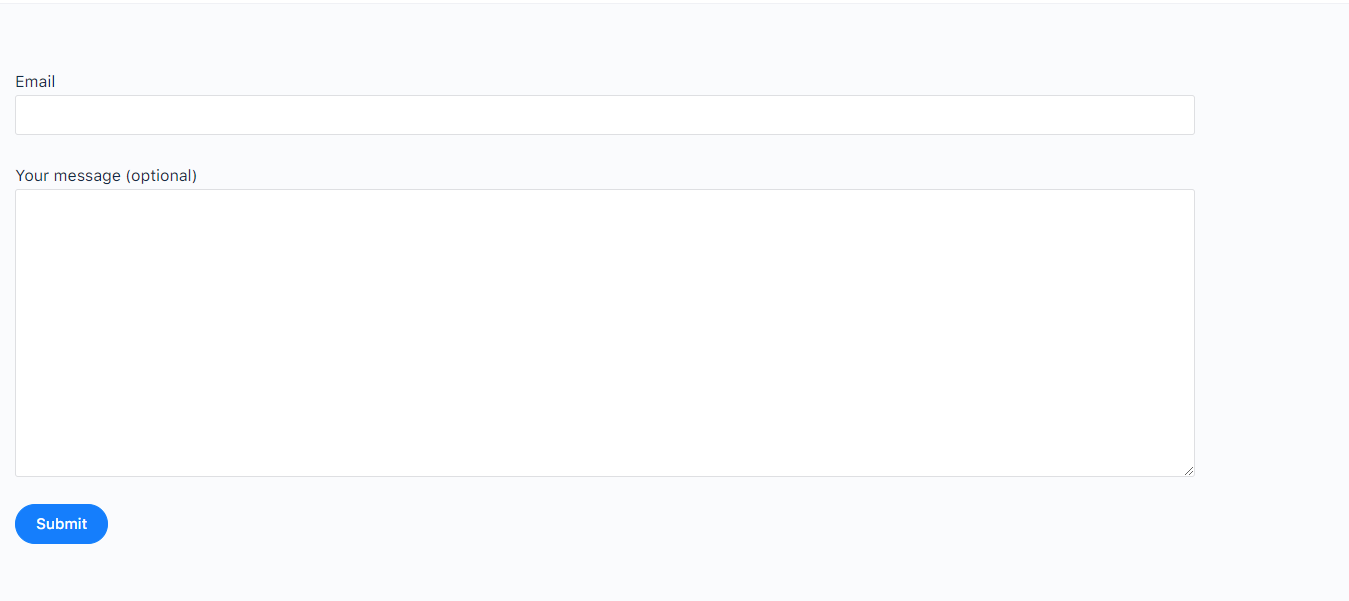
To add a new user, from the Admin drop down hover over members and select Invite Member
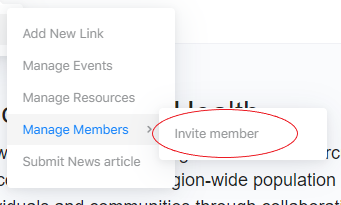
A new page will display for email address and an optional message - Healthcare Communities sends out a welcome email after the user registers AND sends the community admins an email advising that a new user has registered. This email also has a link to the above members page for the community admin(s) to address the appropriate roles or organizations.
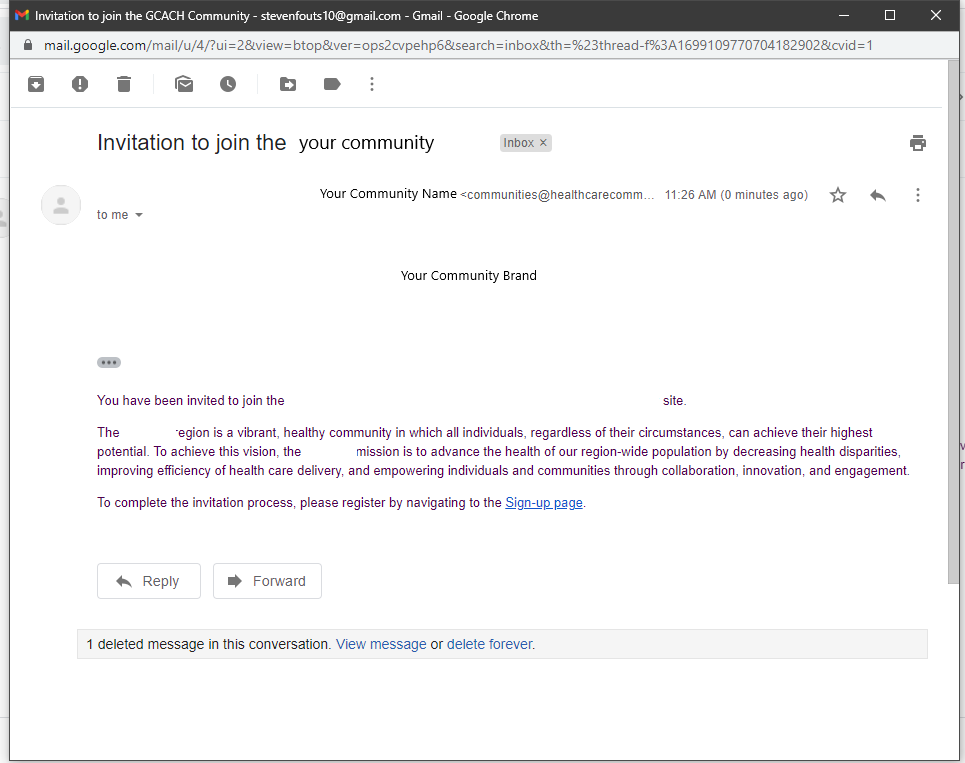
Once you click Submit, the user will receive an email similar to below
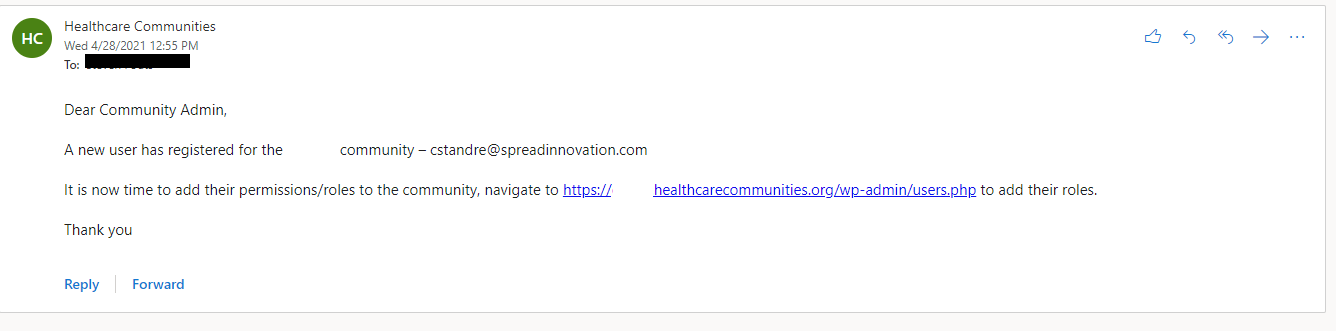
When the user completes the information on the sign-up page, the Community Admins will receive an email, similar to the one below, informing the admins to add permissions to the user. Click the link and you will be taken to the users admin page.
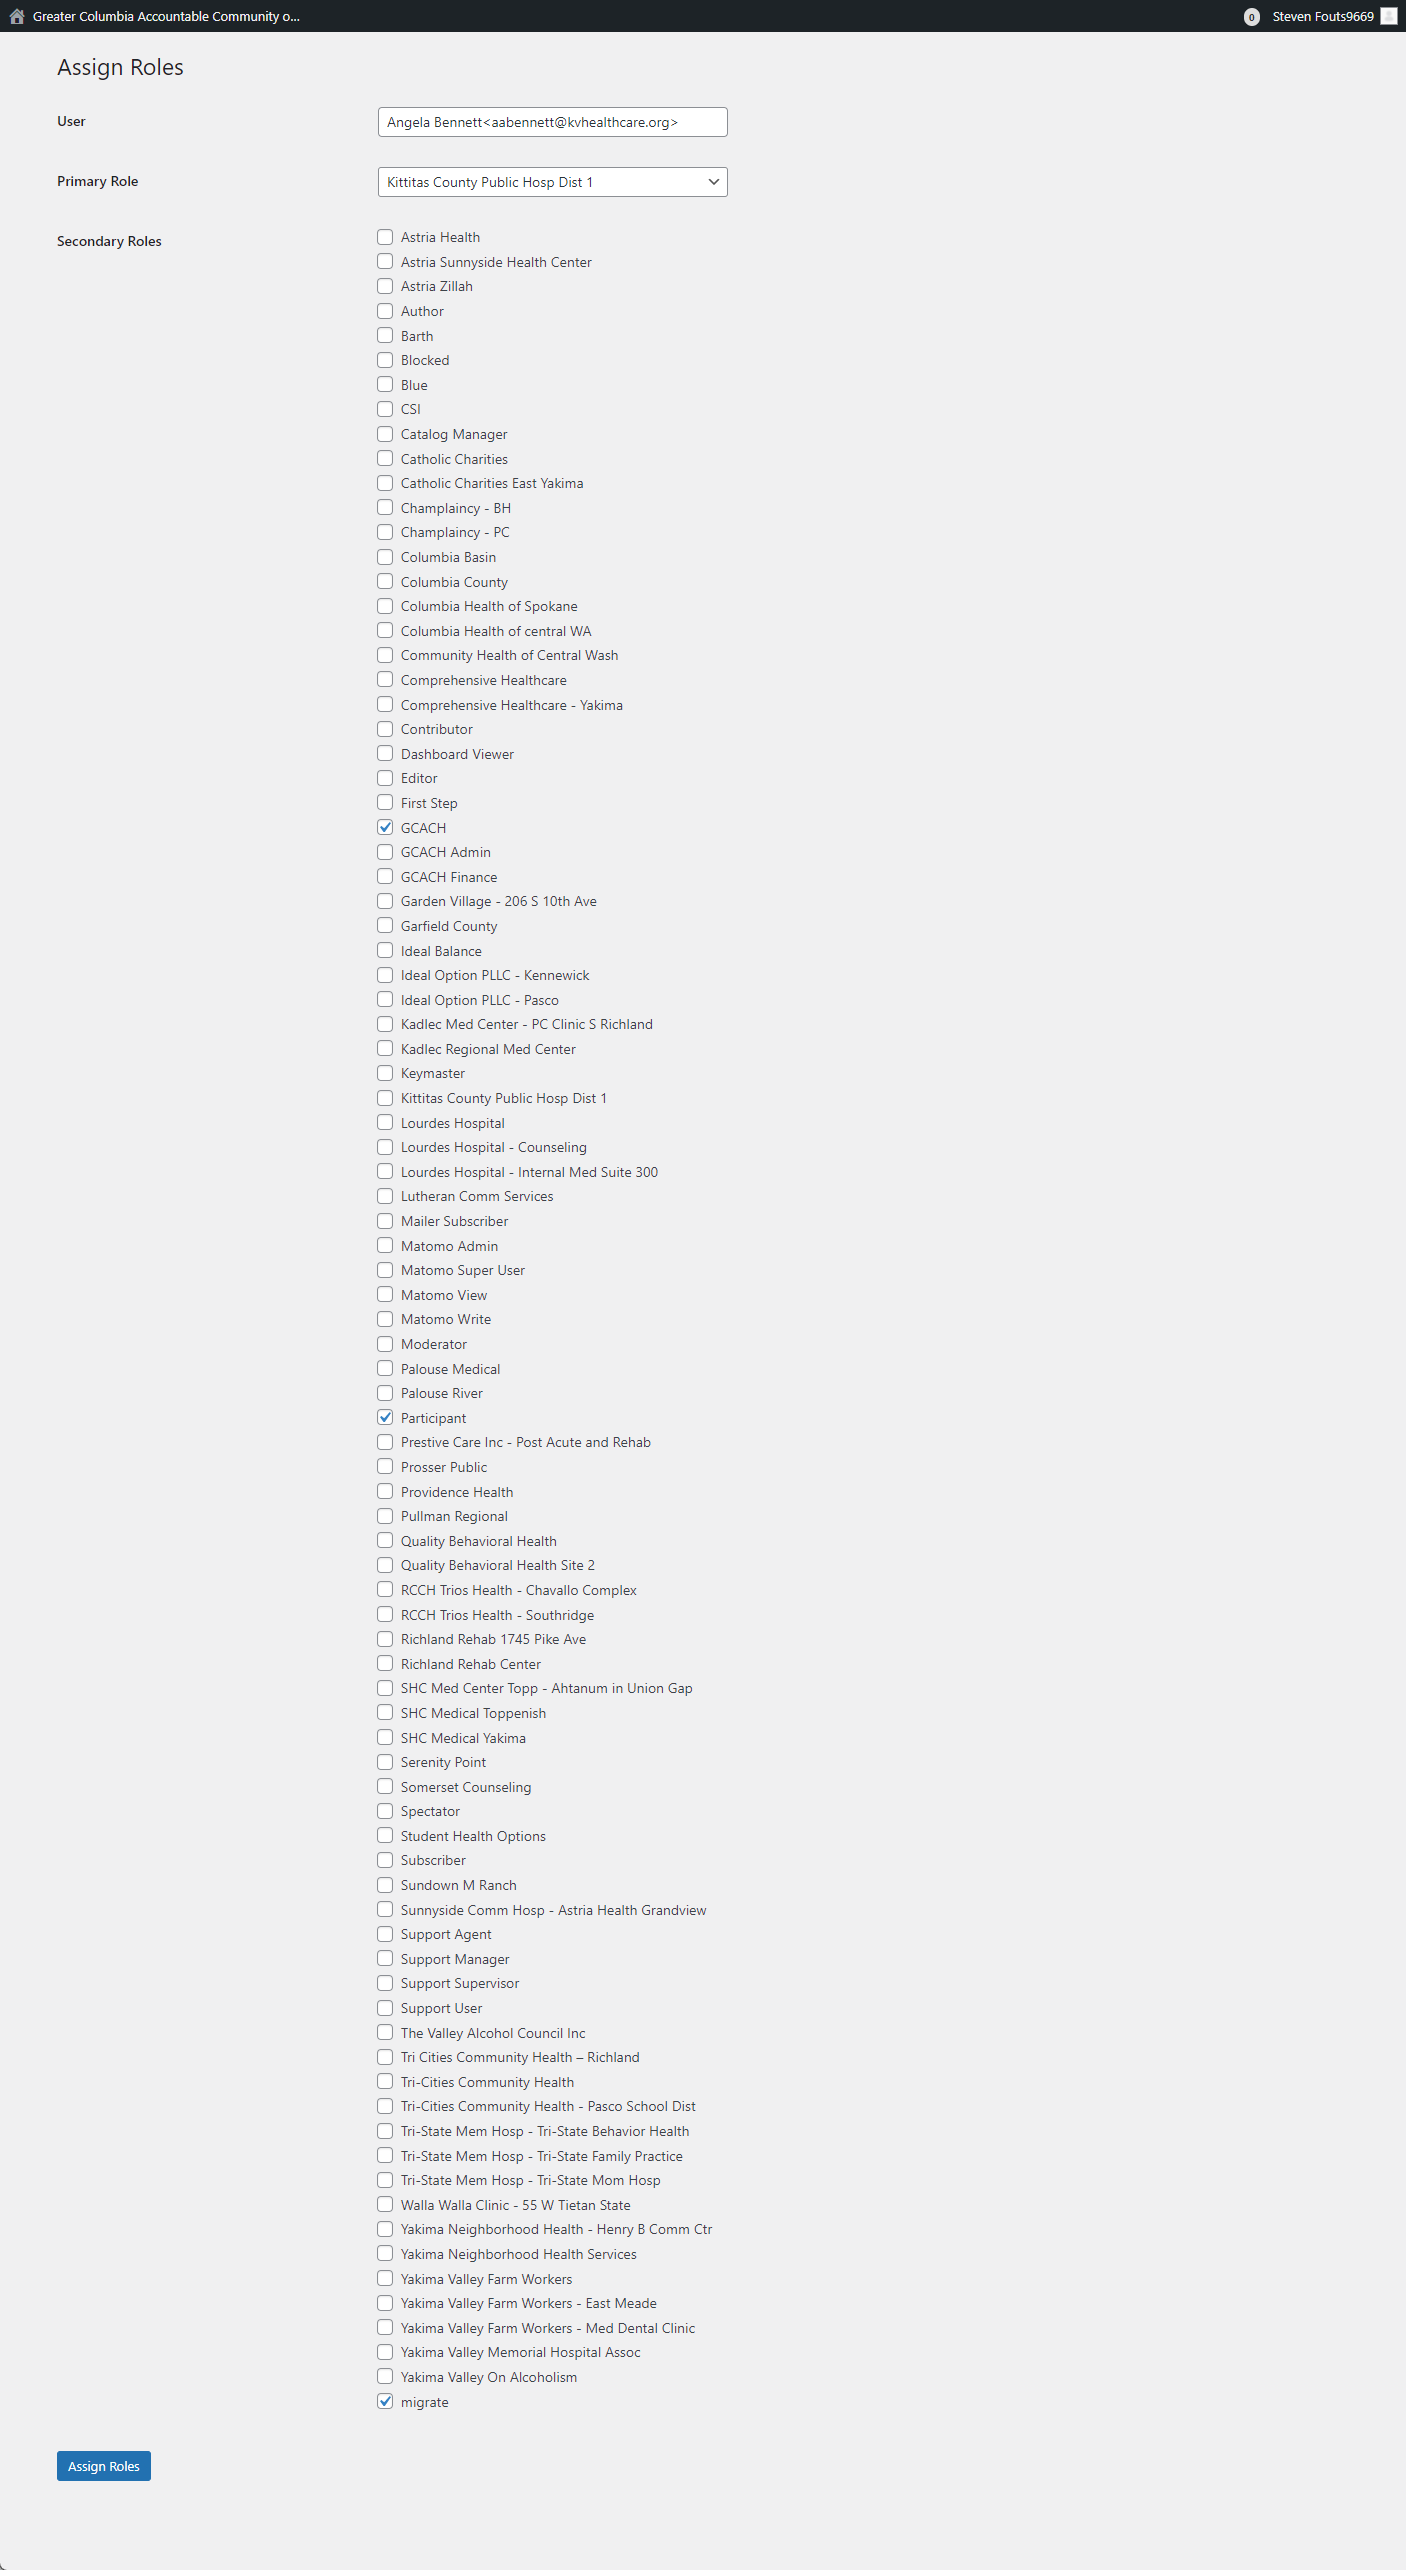
In the member admin page, hover the user you want to add permissions to and click the ‘Assign Roles’ link under the Username.

Add/Remove roles by selecting/deselecting the checkbox next to the role name and clicking ‘Assign Roles’.
Importing the initial members to the new site
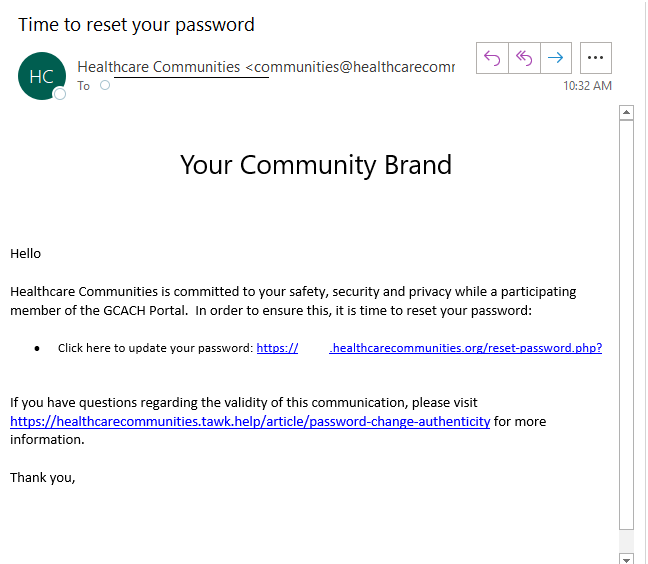
CSI will make the imports of the users, if needed, from the old site. While the user will not have to register again, for security purposes, we will ask to update their password. The user will receive an email similiar to bImporting the initial members to the new siteelow.
When the user clicks the link, the link will open to a browser and ask the user to validate their email address with a code sent to their email.
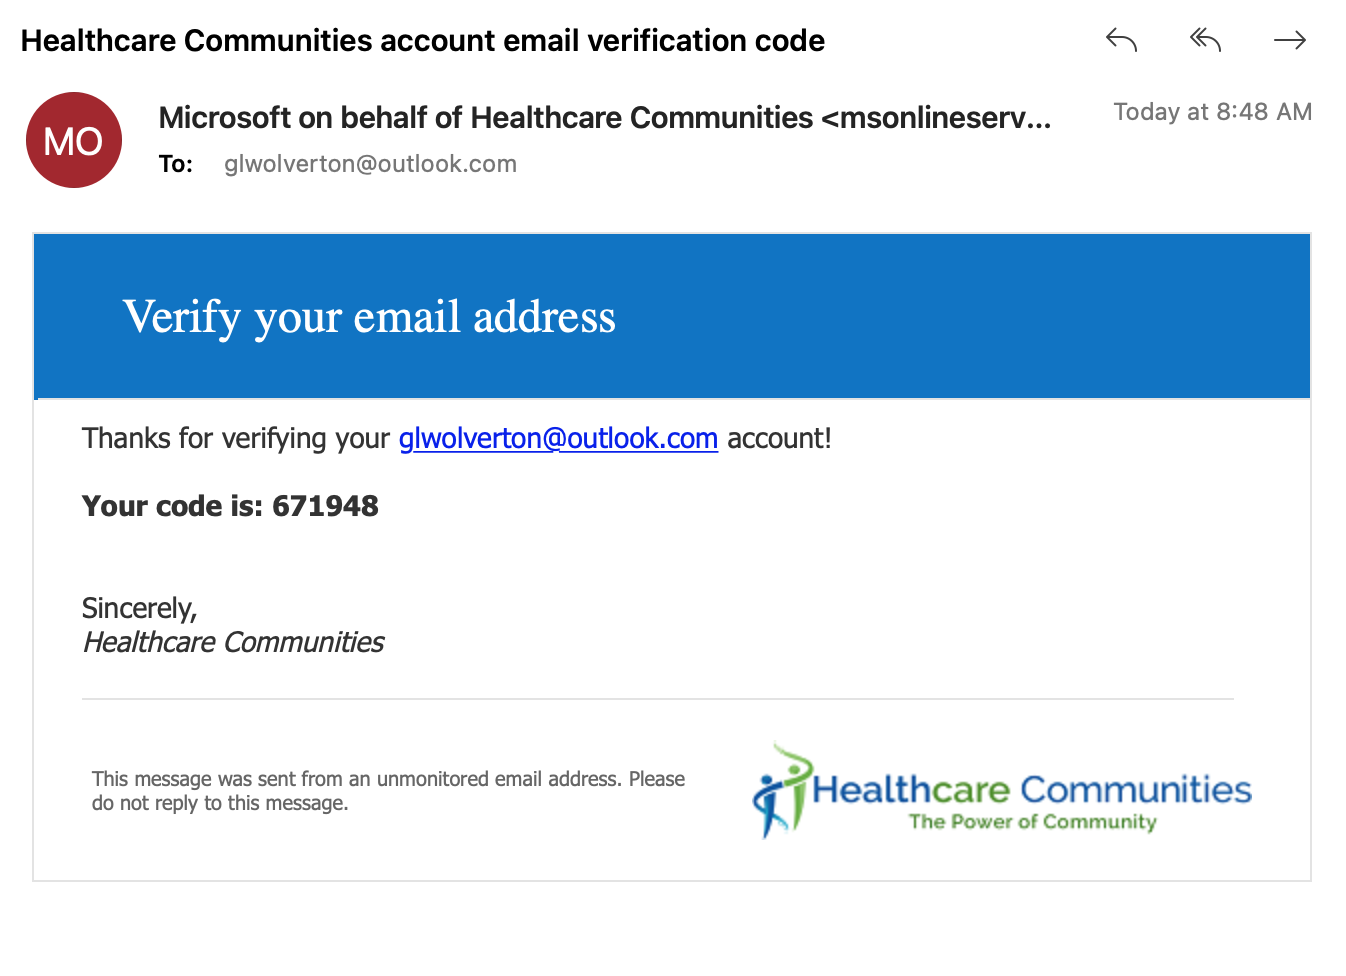
Enter the code received and click Verify Code
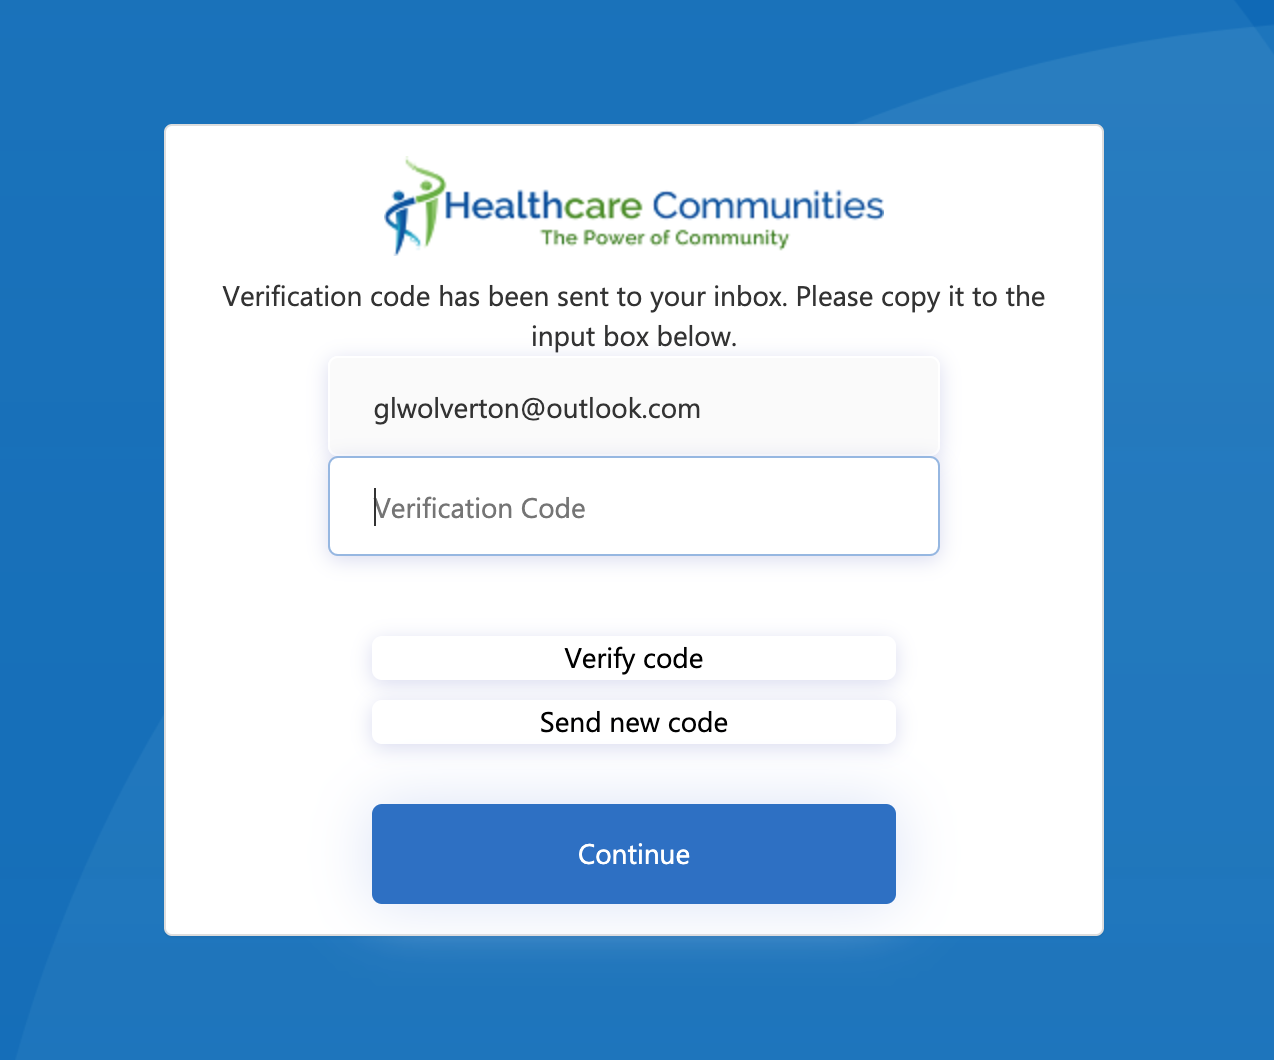
Once the code is validated, the user will be taken to the window to enter a new password. Once this is completed the user will be taken to the Engage Portal.